_linear.svg)
No, not feet–but slippers. I’ve been playing with math so you don’t have to. Whenever you change something in knitting and crochet it involves a little math. But I’m excited because I found a WordPress plugin that will do the math for you. With this new toy I created a form that will do calculations, and you just need to enter your own measurements in order to have some custom sizing on a very simple pattern. Read on…
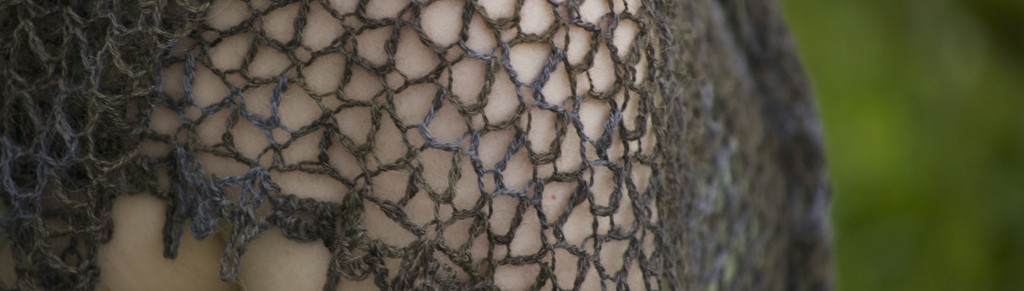
As I mentioned on Instagram, I’ve been knitting slippers.
A photo posted by Amy O’Neill Houck (@amyohouck) on
Sometimes, when I’m knitting other people’s patterns, it’s restful–other times, it’s playful. This pattern, the Non-Felted Slippers by Yuko Nakamura is great! It’s clever, and simple, knit on two needles, so it’s easy for beginners. The pattern is written in just one size. Before you knit it, you don’t REALLY know what that size is because no finished measurements are given. So knitting it for the first time is a bit of a mystery. I didn’t mind the mystery, because I’d seen the slippers on Maggie’s feet, I knew they’d fit a foot near to mine, and I knew they were a quick knit, and really cute.
However, my sweetie, whom I just taught to knit this winter, wanted to make a pair for himself. His first actual not-a-rectangle project. So I also needed to adapt the pattern for larger feet. After I knit the first one, I realized it would also help to adapt it to MY feet.
I discovered that knitting at gauge (13sts/10cm), I got a slipper that was 26 cm long. This was the key missing piece of information. My foot is only 23.5 cm long. That’s not a big difference, in fact, it’s tiny for most kinds of garments, but these slippers are almost like socks. You basically want no EASE (or roominess inside) because they stretch to fit you. While I was doing all the calculations, I figured I could also add one in for gauge so you can make the slipper with any yarn, not just bulky yarn.
So, if you want to get started, first, go download the pattern, read it through to get a sense of how it works, make a 6″ stockinette swatch in the yarn and needles you want to use, then meet me back here! (Don’t forget you’ll also need 2 stitch markers).
Ready? Great! Enter your gauge and foot measurements and follow along the form to find out how to adjust the pattern for any size.
The remainder of the pattern–the cuff and the finishing can be worked according to the pattern instructions. You might note that I made a slight change to the increases, and I adjusted the stitches between markers to be an even number. It’s because I wasn’t quite sure why one wouldn’t add a stitch on each side of the foot in that last row (12 in the pattern), and it makes the scaling a bit easier. Let me know how it goes for you. I’d love to have a tester for this calculator.
Thanks to my programmer brother John Markos for helping me tweak the calculator so that it can round to even numbers.